This article will describe building and deploying an ASP.Net sample web application for Docker. We’ll be using Docker Desktop for Windows and Visual Studio 2022 Developer Edition.
To learn how to install Docker Desktop on Windows 10 please refer to my article https://sultanealam.com/2023/02/22/configuring-docker-on-windows-10/
ASP.Net web application can only be deployed on Windows Container. However, .Net Core application can be deployed either at Linux or at Windows container. To learn more about deploying .Net Core application refer to my article https://sultanealam.com/2023/02/23/building-your-first-net-core-docker-image/
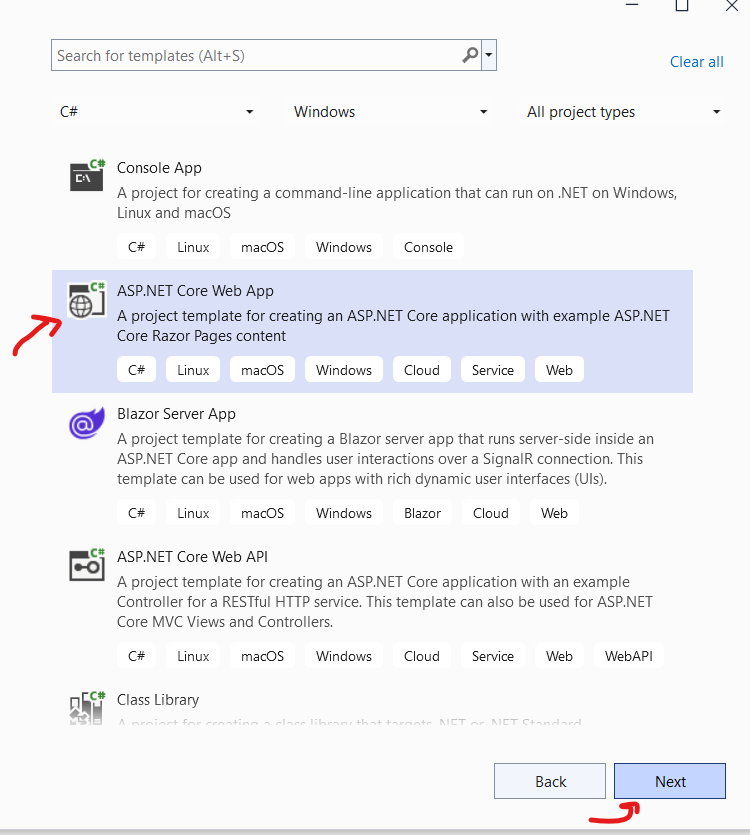
Let’s follow the steps to create the project:
- Open Visual Studio 2022 and create a new project

- Let’s name it AspWebApp4Docker
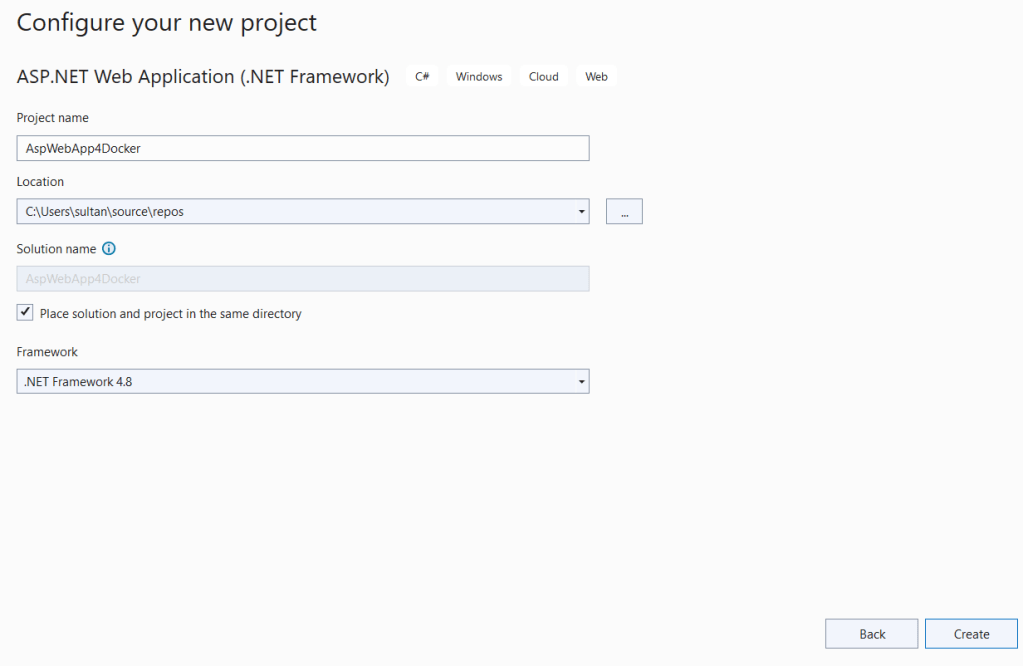
- Check Docker Support on the next screen. As this is a ASP.Net application so only Windows Container is supported.

- Click Create and there will be pulling of Docker Image for Windows Server Core will be started on a separate command prompt.
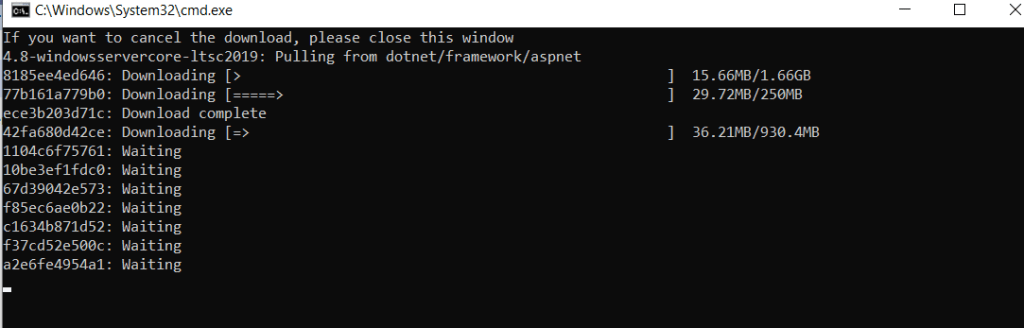
- The output window of Visual Studio will be shown something like this

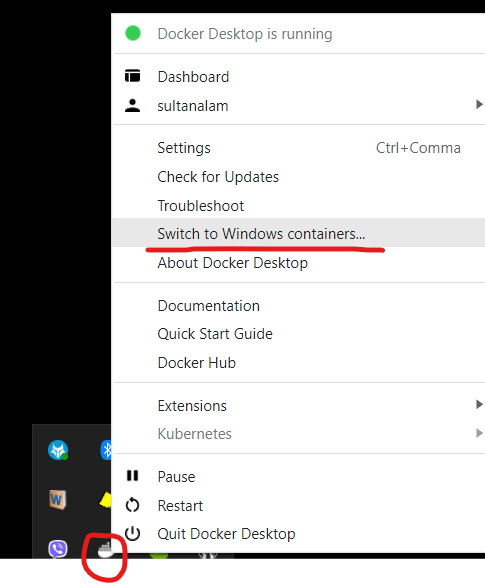
- Once done this will try to run the project from Docker Image. But it didn’t work for me !
- Let’s remove the image from Docker.
- Find the image at Power Shell
docker ps
- It’ll be something like aspwebapp4docker:dev. Stop it and then remove
docker stop aspwebapp4docker:devdocker rm aspwebapp4docker:dev
- Now go to the Docker File at the project directory. It’ll be look like:

- Let’s comment out this code using
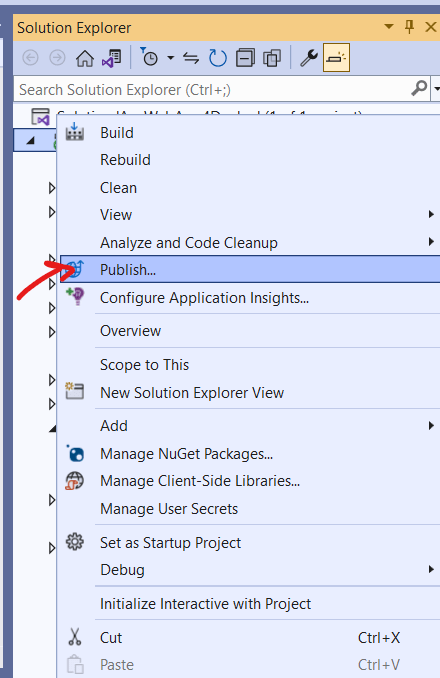
#infront of each line. Yes, that’s how we comment a docker file. - Now We’ll publish the application before put it into docker.
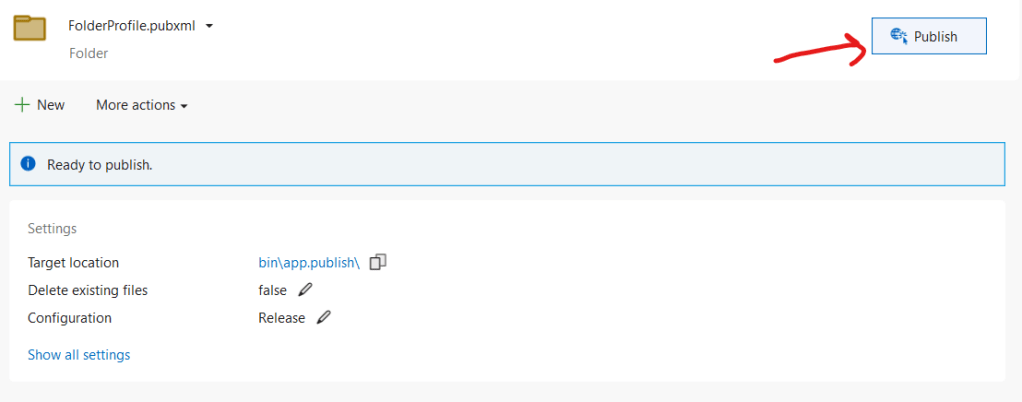
- From Visual Studio Solution Explorer Select Publish.
- We’ll publish it locally. Select folder to publish on next screen and put the folder name on subsequent screen.

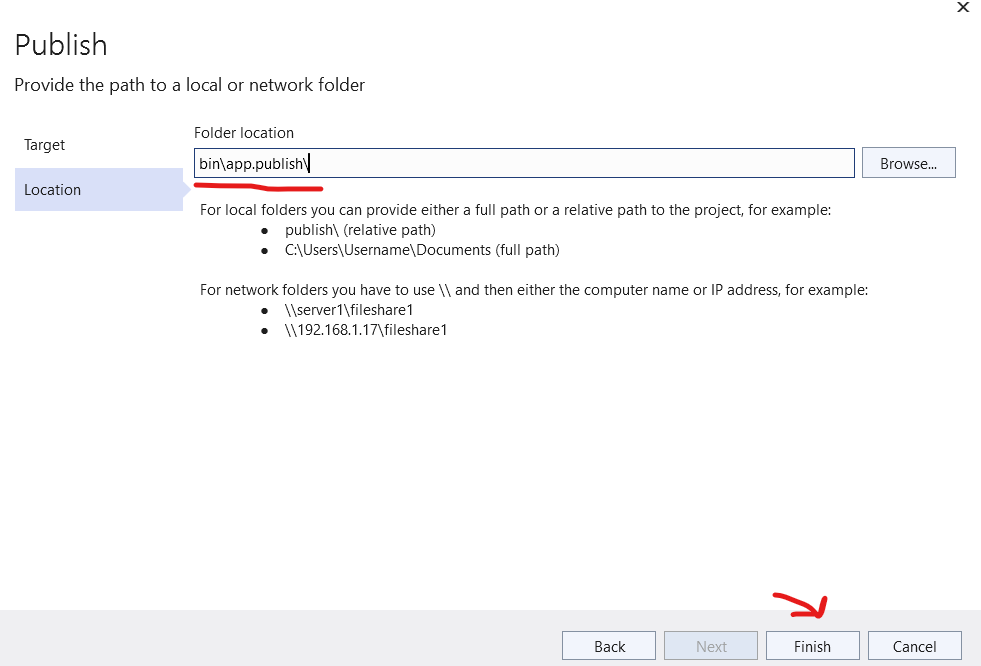
- Finally do Publish
- This publish folder will be available at your project root directory bin folder.
- Now we’ll tell Docker to use this location to build the image
- Open the Docker File and put the following:
FROM mcr.microsoft.com/dotnet/framework/aspnet:4.8-windowsservercore-ltsc2016
COPY ./bin/app.publish/ /inetpub/wwwroot
- Here we are instructing to use the windows server core image and copying the published application to
/inetpub/wwwroot - Now we’ll build the project form Windows Power Shell. Please note that as we are already done with pulling the windows server from Microsoft Container Registry while creating the project so this time it will use the cache to proceed.
- At Power Shell change location to project root directory. Now build the project
docker build -t aspwebapp4docker .

- The image is named to
aspweb4docker. We can also do a tagging using the name:tag format. As we are not assignign any tag so the default tag is set to latest. - Now run the image
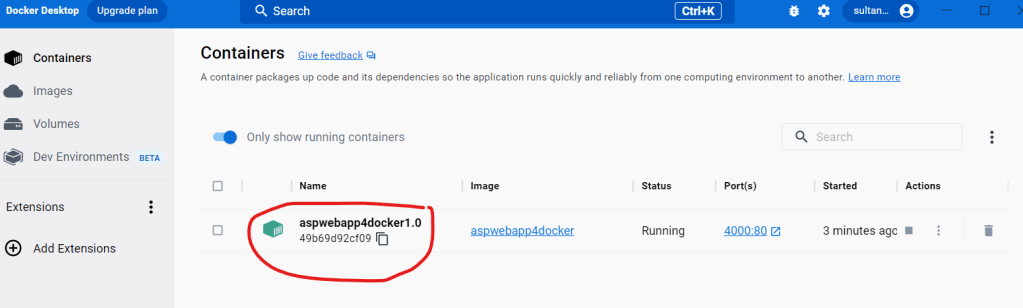
docker run -d -p 4000:80 --name aspwebapp4docker1.0 aspwebapp4docker

- Once done it’ll show the id of the image.
- This can also be viewed from Power Shell
docker ps
- We can also view from Docker desktop
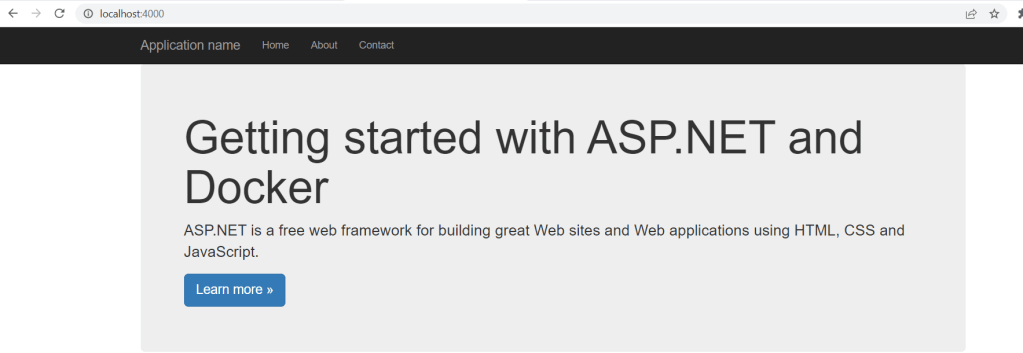
- We can browse it
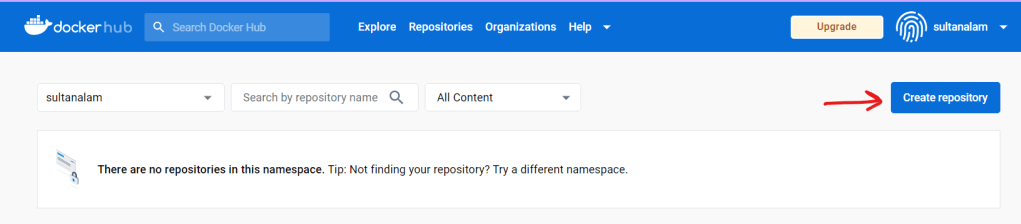
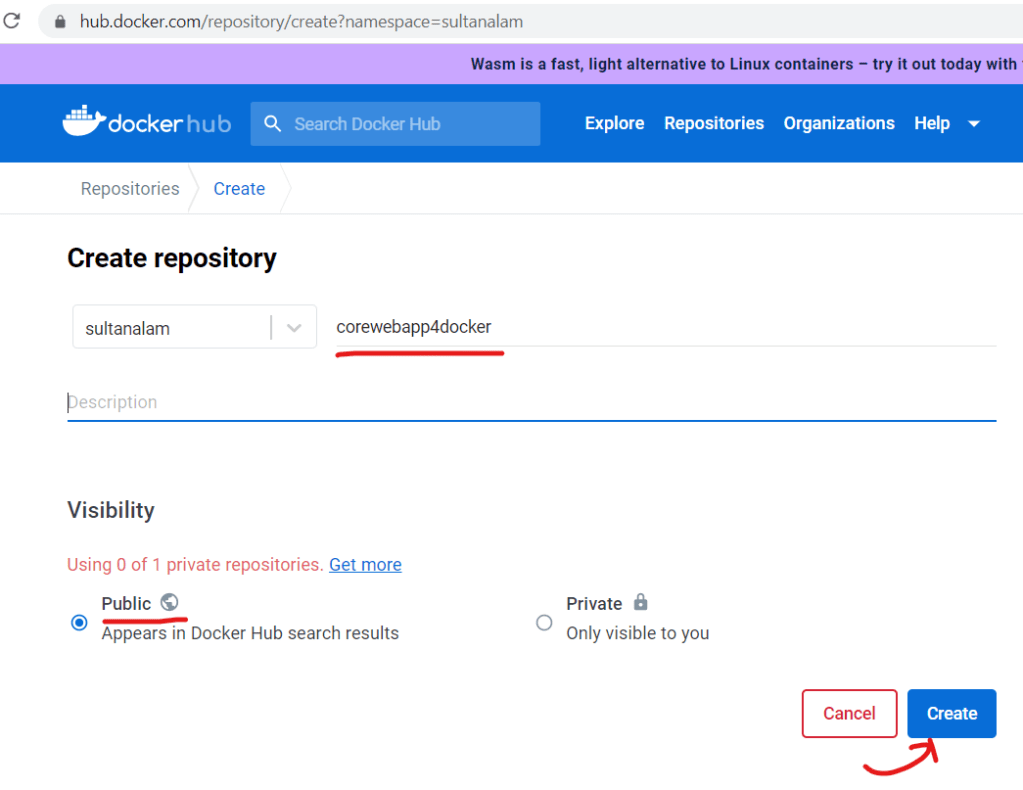
- So, now the image is available locally. To share the image we need to publish it to Docker Hub.
- To know how to publish to the Docker Hub please refer to my last section “Publishing to Docker Hub” of my article https://sultanealam.com/2023/02/23/building-your-first-net-core-docker-image/
References